Let me start by asking "What could possibly be cuter than baby toes?" The answer HAS to be baby toes in sandals, of course! Awwww...

But no matter how much she wanted to try on her new sandals, nothing could prepare her for the first time she stood with something between her toes! I snapped this pic quickly, then took the sandals off, and she promptly "demanded" that I put them back on her. Kids!

Now, on to the dress. I've seen pillowcase dresses all over the blogoshpere, and a few bandana dresses, too. The easiest version is the bandana dress. I've seen several similar versions, so I'm pretty sure I'm not stealing anyone's original idea by offering my own tutorial here. I've been stockpiling bandanas in pairs for a year, waiting for Annelise to be big enough to wear these dresses. One of the great things about this dress is that you can adjust the neckline as your child grows, and when they are a little older, they can wear it as a top over pants or shorts. I would guess these would fit from toddlers up to age 6-8, depending on the child's size. In the winter, you can put them over long-sleeved shirts and leggings.

It seems she finally started getting used to the new sandals, but still wouldn't turn around and give me a smile. Oh well!

Bandana Dress supplies:
- 2 bandanas
- ribbon for tying at neckline (approx. 1" to 2" wide)
(sewing machine, thread, scissors, iron, etc.)

These bandanas are from Walmart and just $1 each. They are made from a really soft, lightweight fabric that reminds me a little of vintage handkerchiefs. I've found great bandanas at Walmart (women's accessories section) and Hobby Lobby. You can find some matching ribbons at HL, too!

I prewash all my fabrics before sewing. With bandanas, you just have to expect that they will not be perfectly square after washing. You can see in the pic below that when the corners line up on one end, they are about 1/2" off on the other end. This doesn't cause too much of an issue as you sew them up. BTW, the genius thing about using bandanas is that all the edges are finished for you. You don't have to zig zag or serge any of your seams! (Why can't you turn a photo when you're composing a blog entry? So annoying!)

Lay out your bandanas with right sides together, and with any edge printing to the top. (You will be folding this part over later for the ribbon casing, so you won't see the printing from the outside of the dress.)

Yes, another pic got turned when uploaded. Sorry!
On the side seams, place a pin 6" from the top (from the printed edge). Pin down the rest of the seam below this pin.

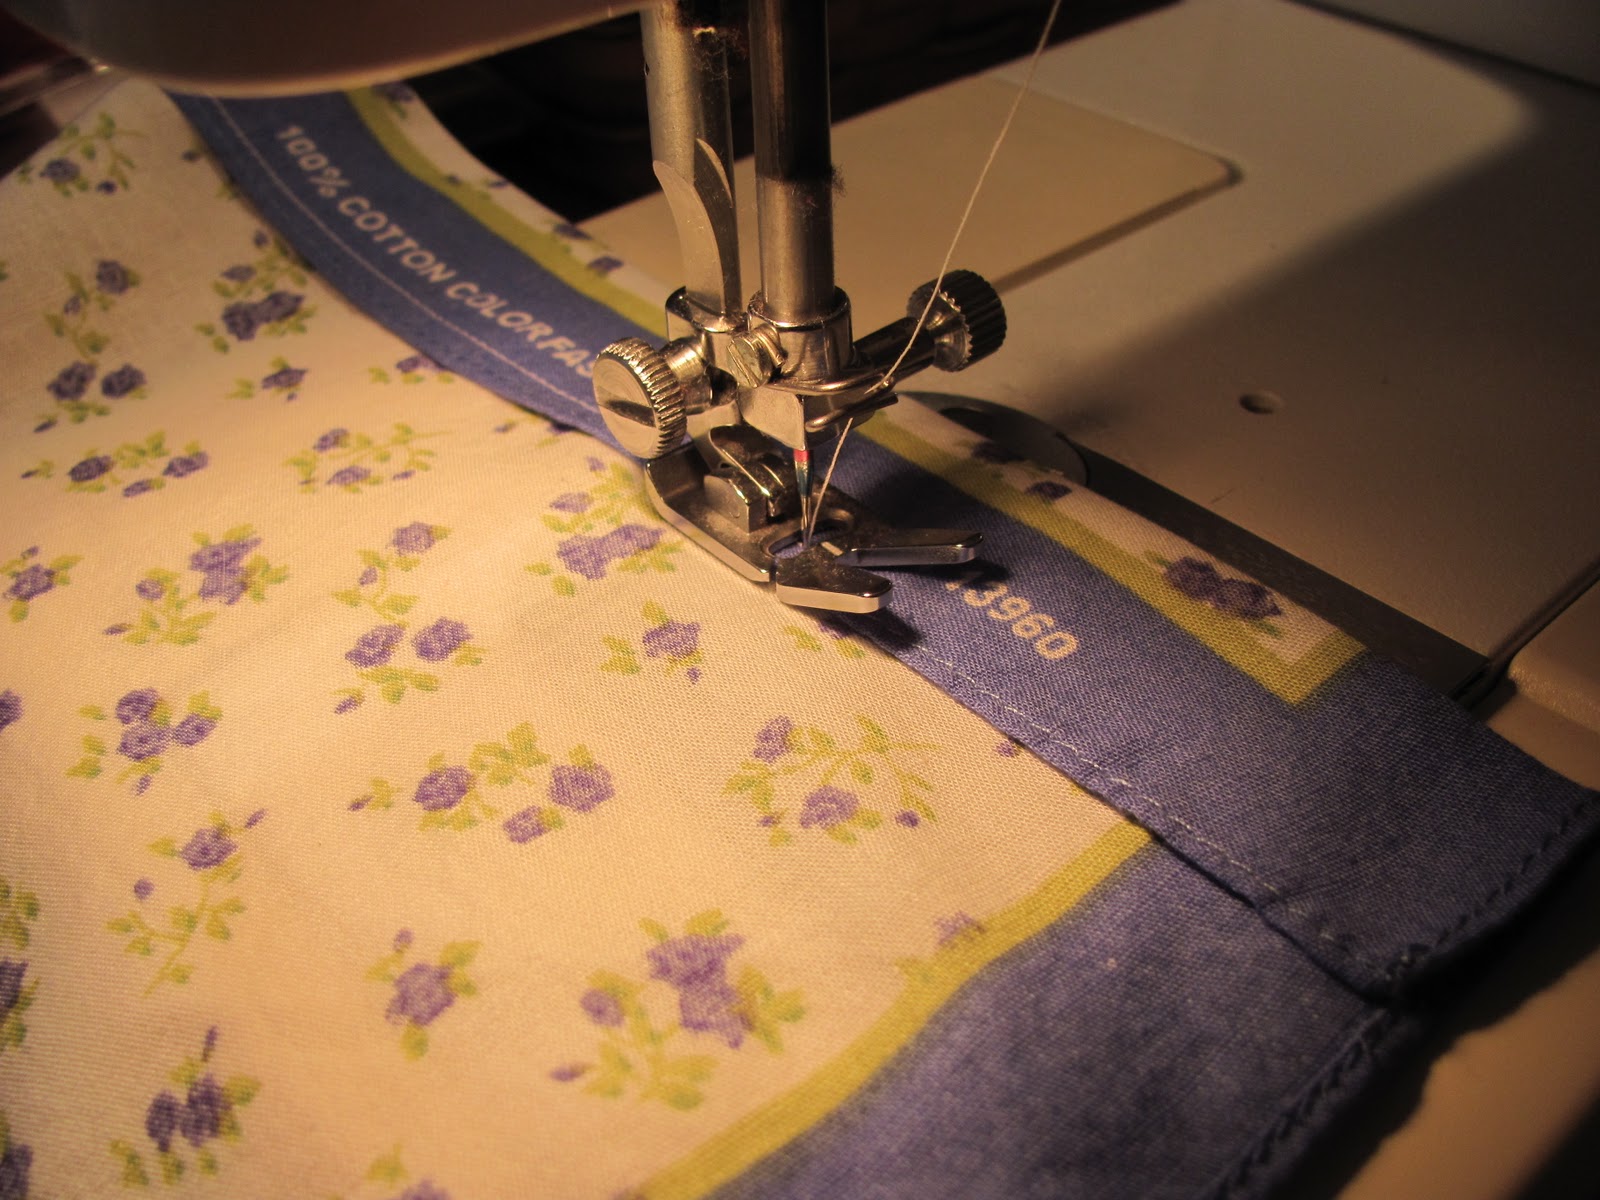
Begin sewing at the 6" marking, backstitching a few stitches to secure. Sew all the way to the bottom of the dress, backstitching again. Repeat for other side seam. (Because your edges are all finished, you can sew any width seam you want. I used a 1/4" seam, which lines up perfectly with the edge of the presser foot.)

Press the seam allowances open.

Measure the width of your ribbon and add 1/4". Fold the top edge (with printing) down that amount to the wrong side (inside) of dress. (My ribbon was 1" wide, so I folded the edge down 1 1/4".) Press the fold.

Stitch all the way across the top of the dress, near the pre-finished edge, backstitching at both ends. Repeat for top of other side.
Cut your ribbon to length. I used one length of ribbon, so that it would tie at one shoulder. You could also cut two lengths of ribbon and have a tie at each shoulder.
One shoulder tie: cut one 48" length
Two shoulder ties: cut two 36" lengths
Attach a safety pin to one end of ribbon to thread it through your casing.

For one shoulder tie, thread the ribbon through one casing and back through the other (pictured). For two shoulder ties, thread one ribbon through each casing.

Congratulations, you are done!

Adjust the neckline along the ribbon length for the size of your child. After you tie the ribbon, trim any excess length and heat-seal the edges.

My daughter isn't quite tall enough to pull off the full length of this dress, so I hemmed up the bottom about 1 1/2". Since that caused the border of the bandana to be folded under, I added some more ribbon at the bottom. As Annelise grows, I can remove the ribbon and let out the hem.

Aw, it looks like someone needs a hug!

Once you've made this dress one time, you could probably make another one in about 20 minutes. Walmart usually carries seasonal holiday bandanas, and Hobby Lobby has just about any color you can think of in the traditional bandana style. And combined with so many beautiful ribbons - just think of the possibilities!
My next project to share is a not-so-St. Patrick's Day outfit. Until then...
Happy crafting,
Julie
No comments:
Post a Comment