Love Story 3 column

Monday, February 14, 2011

Happy Valentines Day!

I hope you have had a Happy Valentines Day. Ours was rather low-key, but we are together, and that's what really matters!

Be sure to tell someone you love them today!
Julie

Thursday, February 3, 2011

Valentine Clippies

I saw the cutest little valentine heart clippies (hair clips for babies with a little bit of hair!) at The Children's Place, and thought surely I could make them myself. It turns out, I could make them! And that leads me to my very first tutorial. If you would like to make some for a little lady you know, read on...

Supply list:
1-2 alligator clips (mine are 1 3/4" long)
2 contrasting ribbons (grosgrain - not smooth - works best to grip fine baby hair)
glue gun
sewing machine with matching or contrasting thread

Decide which ribbon will be your main color and which is your contrasting color. I decided on red as my main color. My contrasting ribbon is actually soft pink, but appears white in these pics. Cut your main ribbon to cover each alligator clip. To measure, insert the ribbon in the clip (as shown below), then wrap it around the back and cut. Mine ribbon pieces were about 4 1/2" long, but do not cover the bottom of the clip (see later pics and explanation). Heat seal the edges and set aside.

Cut 2 pieces of each ribbon in 6" lengths. Heat seal the edges.

 Layer 1 main and 1 contrast ribbon with wrong sides together. Fold them together at a right angle near the middle.

Fold one side back again, keeping the right angle. Pin to secure. This is a bit tricky to explain. (I had to try a couple of times to get it right and to get my ends even.) You want each side to end up the same length.

Here's where the sewing machine gets involved. Sew a small square over the section you have just folded. Be sure to back stitch as you begin and end to secure your stitches. (If you're new to sewing, there are lots of beginning sewing tips online.)

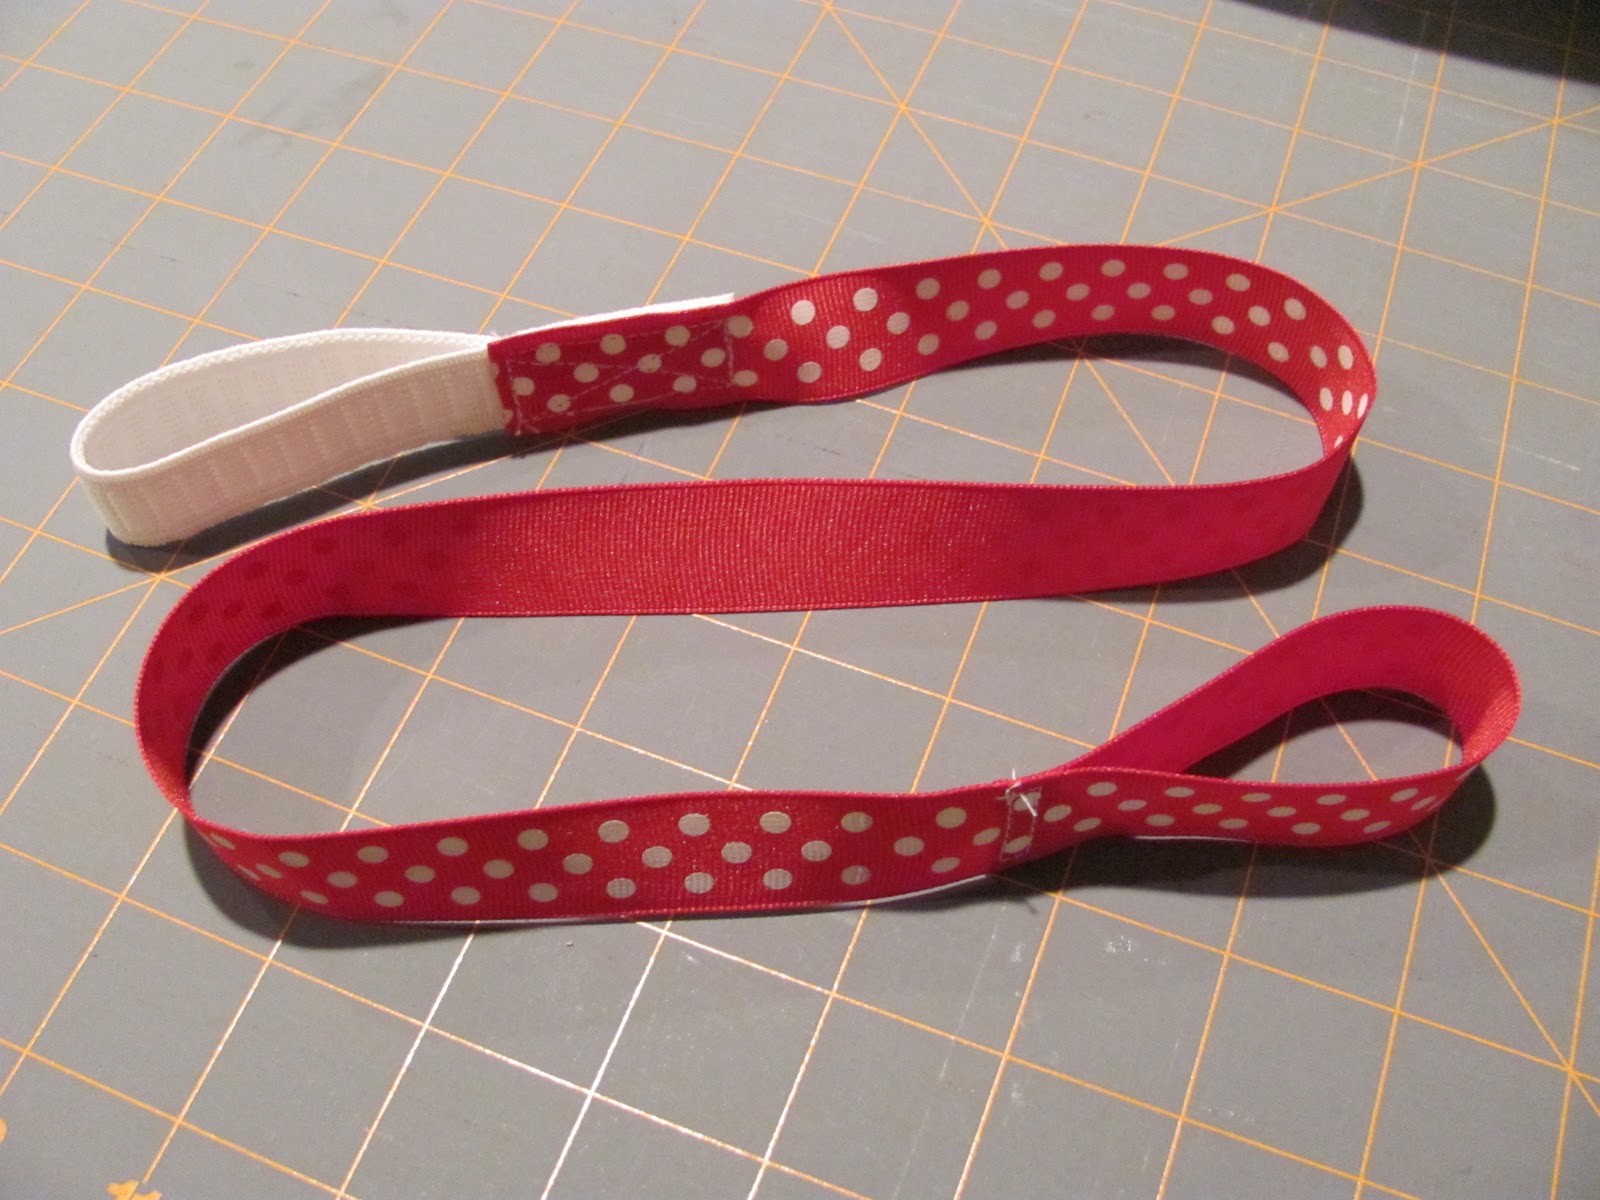
Pin the loose ends together at a right angle, keeping both ribbons layered. Sew another little square to secure the ends. At this point, your ribbons look kind of like a teardrop - it is NOT supposed to lay flat.
 

Now it's time for the glue gun. Here are 4 easy steps to cover a clip with ribbon (top to bottom in pic). Glue each part as you go.
1. Glue about 1" of ribbon and place in the clip. Watch out, since the glue comes through the slit in the clip!
2. Wrap the ribbon back over itself, enclosing the upper section of the clip.
3. Tuck the ribbon into the "pinchy" part of the clip. (Do you know a better word to use beside "pinchy"?)
4. Wrap the rest around to the bottom of clip.

Side note: I have found that leaving the bottom of the clip with no ribbon works best with my daughter's hairstyles. I usually put it in a "sprout" with a rubber band, then put the clippie just under the rubber band. The metal point slides right through her hair. If you are putting a clippie straight into a section of hair with no rubber band, you may want to wrap your ribbon all the way around the bottom of the clip and back into the middle clip area. This would take about 1" more ribbon length.

Now take your teardrop ribbon shapes and glue the bottom of one tear drop to the top end of your clip, main ribbon down. Bring the other end over and glue just below the first part. Ta-da - it makes a heart shape! Repeat if you're making two clippies.

 There you are: two adorable clippies for your sweet little valentine.

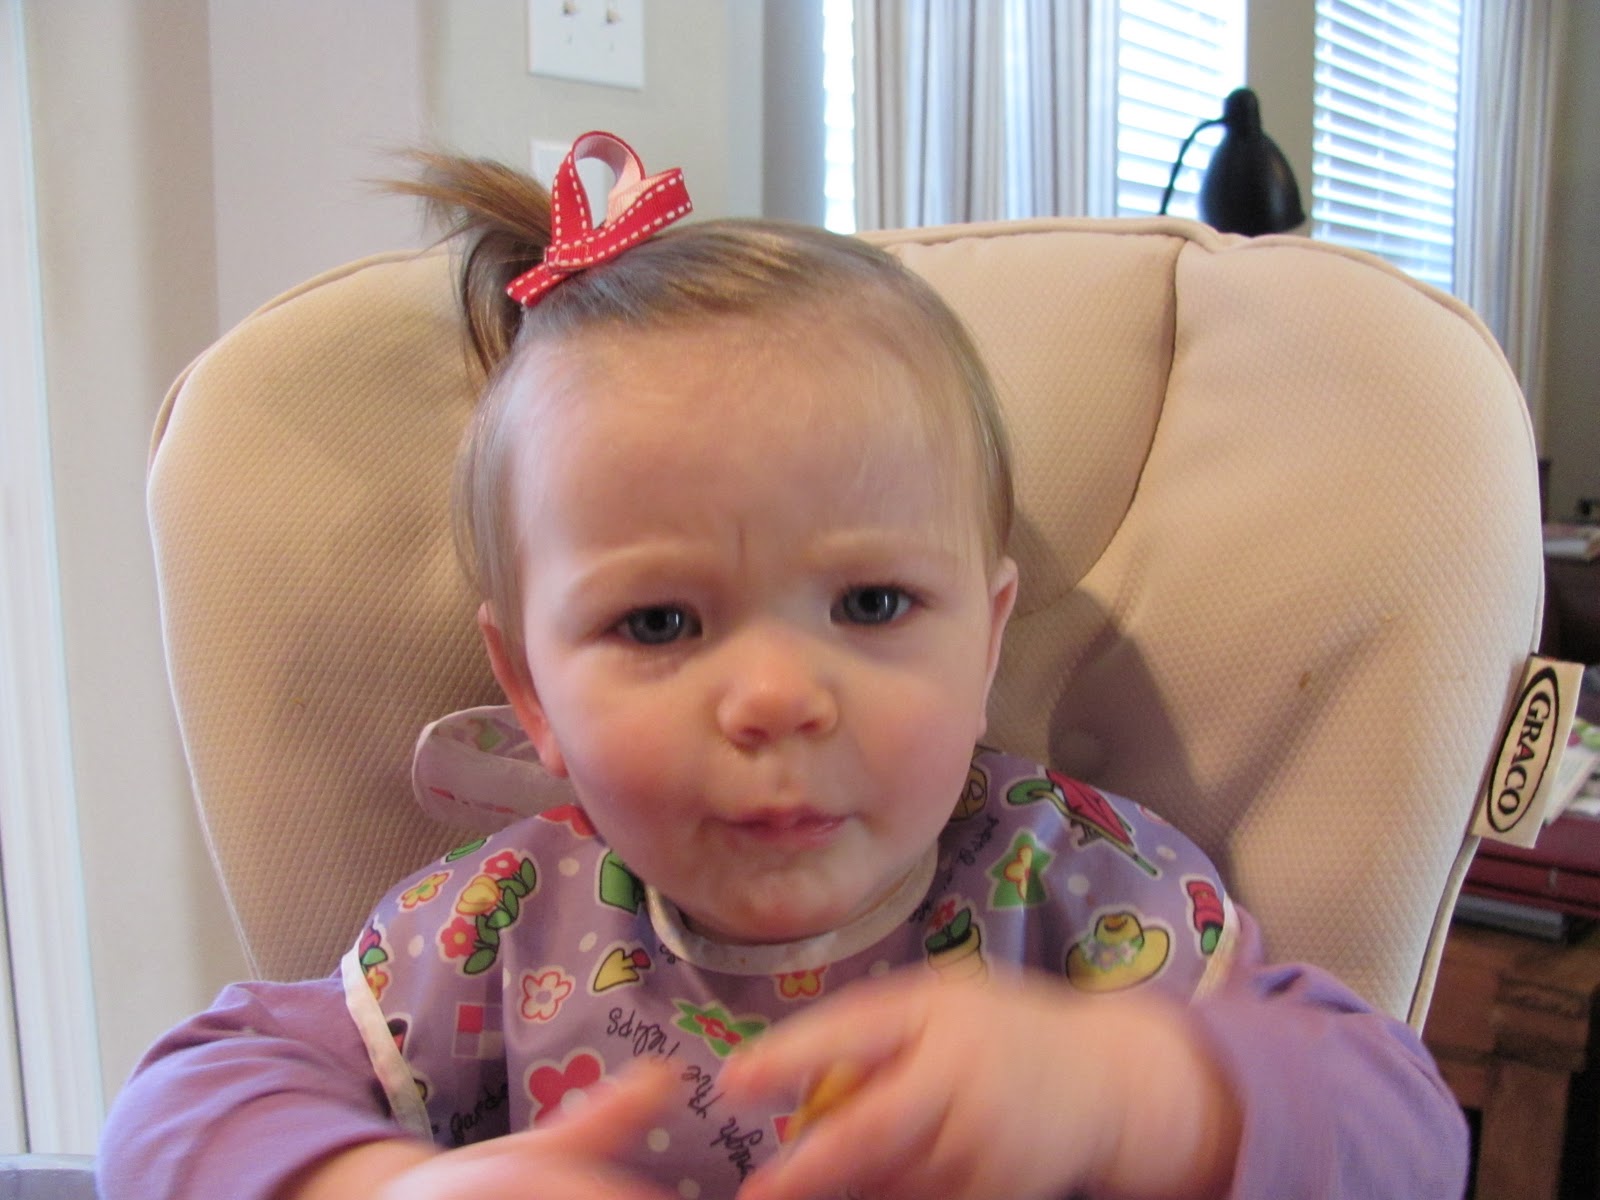
 Here's my valentine, showing off her clippie while eating her favorite: goldfish! That's one way to get her to be still for a picture - strap her into the high chair and bribe her with snacks! I'm not above bribery.

Hopefully, I've given pretty clear instructions. If you have any questions, please leave a comment. Thanks for checking out my first tutorial.

Next up: I just started working on another Mama Stellato pattern dress for Annelise.

Happy crafting,
Julie

I'm linking up with the following link parties. Check them out!

monogram Join  us Saturdays at tatertotsandjello.com for the weekend wrap 
 up           party! Photobucket

Thursday, January 27, 2011

Valentine's Tunic for My Sweetheart

As promised to all 4 of my followers (love you lots!!!), I have made another dress with the Charlotte pattern (from Mama Stellato) I used previously here. And here is Annelise in her dress:


It all started with this valentine ticket fabric from where else? Hobby Lobby, my favorite! I'm pretty sure I don't approve of the ticket that says "hottie" for my 14 month old, but I'll just have to ignore that one. It's kind of like playing "Where's Waldo" with the tickets.

 I made a couple of changes to the original pattern for this dress. I shortened the hem about 1 1/2 inches to make it more of a tunic than a dress.

Instead of sewing a fabric sash, I used a wide ribbon. I cut the ends at an angle and heat sealed the edges. Side note: do you know about heat sealing ribbon? I just found out about it last year. You simply pass the cut edge of ribbon through a flame (candle, lighter, etc) a couple of times. Not enough to catch it on fire, just enough to slightly melt the edge and keep it from fraying.

And my final change to the pattern: I cut the sleeves about 1/2" longer, then made a casing and inserted elastic.

Here's one more shot of Annelise. She was so over having her picture taken, but I couldn't resist showing you her amazingly gorgeous blue eyes. If you look up on the edge of the hutch (top left corner of picture), you can see where I put her pacifier. That's probably the real reason for this expression. Oh well, I think she's still pretty darn cute!

Coming up next: Valentine's Hair Clippies

Happy crafting,
Julie

monogram

Monday, January 24, 2011

Life a Little Easier (and Cuter!)

So after seeing several posts about making items to go in your purse, I decided there were two that I needed/wanted. And I have plenty of fabric that is either left over from another project or I can't remember what I bought it for. I bought these two coordinating fabrics from Joann's several years ago.


The first item I made is a keyring wristlet that I saw here. This was just what I needed. I carry my purse and/or diaper bag on my left shoulder, and I carry Annelise with my left arm. So if I don't already have my keys out of my purse when I pick her up, they are impossible to get to. Then, when I put her in the car seat, if I'm wearing something without pockets, I have to toss them somewhere to use both hands. (Besides, with 2 key fobs, 4 keys, and about 5 key tags, they don't usually fit in my pocket anyway.) So I thought the wristlet would solve my "problem." It's been really handy. Here's the one I made:
I pretty much followed the Craftaholics Anonymous tutorial exactly. The only change I made was my fabric choice. Since I used a lightweight fabric, I just fused interfacing to my strip of fabric before folding and sewing it. And I didn't add an embellishment. The only thing I had to buy for this project was a D-ring. I got a pack of four for about $1.75.

The next item I saw was a fabric checkbook cover. Since I rarely carry my checkbook, I decided to make a calendar cover. I know most people these days keep a calendar on their computer or phone, but I still enjoy writing something down on paper every now and then. I got a 2 year calendar from Hobby Lobby (did you just hear angels singing like I did?) for a whopping $1.49.

Again, I followed the tutorial almost exactly. I had to adjust my measurements just a bit since my calendar was slightly shorter than a checkbook. And I decided to make it a little cuter by adding a pleated strip across the front. The coordinating fabric is on the inside and really isn't seen, so the pleated detail brings a little of the 2nd pattern to the outside.

Outside:

Inside:

With the calendar:

All closed up:

Everybody loves getting things for free, and I think less than $4 for two cute crafts is close enough to free for me!

Next up: A Valentine's top for Annelise. It's finished and so cute, but I'm going to try to get her to model better for me than the last time. Keep your fingers crossed!

Happy crafting,
Julie

Thursday, January 20, 2011

My daughter has a sippy cup, and she knows how to throw it!

So if you've read ALL 4 of my posts so far, you have probably figured out that I don't necessarily have original ideas, I mostly get inspiration from other sources and make it my own. My next inspiration came from several sources. I first saw a sippy cup leash here on Make It and Love It (used on a stroller). Since we don't often use a sippy in the stroller, I didn't think we needed one. But my daughter has recently become a pro at chunking her sippy from the high chair after EVERY sip. The dog has learned to run when she picks it up! When I saw on facebook that a couple of friends had made them for their kids, I realized we did need one after all. But we would use ours on the high chair. So here it is:


You only need a 9" piece of elastic and a 28" long ribbon. (See the Make It and Love It tutorial for full instructions.) I already had both items on hand, so this was another free craft! Yea for free!!! It probably took me 10 minutes to make!

I looped the ribbon through the slat on the side of the high chair.

And when she chunks it, it doesn't hit the floor! (Or the dog!)

Now don't let this initial interest on her part fool you. When we used the leash for the first time the next morning, it made her MAD. Three days later, we are still trying to get her used to it. We'll keep trying!

At least the living room looked deceptively clean from that angle! Next up, a couple of cute and functional items for my purse.

Julie

Monday, January 17, 2011

Charlotte Dress Update

 So here, as promised, is a picture of Annelise in the Charlotte Dress (see earlier post here) after church yesterday. Unfortunately, we had one of those nights, and she only had 4 1/2 hours of sleep on Saturday night. When I got her dressed for church, we were running late and there was no time for a photo session. On the way home, my sleep-deprived little girl fell asleep hard and stayed asleep for a much-needed 1 1/2 hours. When she woke up - cranky, mind you - she couldn't understand why Mommy wanted to take pictures of her instead of feeding her lunch. Bribing her with goldfish was the only way I could even get her to stand up! Sometimes you take what you can get.


When I tried the dress on her on Saturday, I realized the sleeve length was the tiniest bit too short. So I improvised and added a ruffle (about 1") to the sleeve ends. Now there's a bit of growing room, and I think it makes the dress even cuter.
 I wanted to make some kind of hair clip to match, and I found these buttons at Wal-Mart for about $1.25. The colors match perfectly! I had some brown ribbon, but didn't have any inspiration for a bow. I decided I wanted to use the dress fabric, and thought some sort of ruffle around the button would be cute. I've never made a yo-yo, so I just googled "making yo-yos" and found some simple instructions.

Here's the finished hair clip. I made the yo-yo about 2" wide, threaded ribbon through the button holes, and fired up the glue gun. I glued the button to the yo-yo, glued a bit of felt to the bottom, glued ribbon around an alligator clip, then glued that to the felt.


I went to Hobby Lobby today (favorite store ever!) and bought more fabric, of course. Hopefully I'll have another super cute something to show you soon.

Until next time,
Julie

Saturday, January 15, 2011

Free (to me) Valentine's Decor

I was inspired to make some Valentine's framed decor after seeing this post yesterday at less cake {more frosting} - a genius title, might I say. The original item was color printed and put in an 8x10 frame. I wanted to make something right away and didn't want to go out to shop for supplies, so I decided to see what I already had on hand to use.

I didn't have a spare 8x10 frame, but I found one that's 5x7. I looked through my scrapbooking supplies to see what papers I already had that could be used for Valentine's Day. Since I was only going to need small pieces, I checked my little scrap pieces. I was so excited to find enough pieces of my very first favorite paper collection: Bohemia from My Minds Eye, circa 2006.

Here are the supplies I gathered:
 *5x7 frame
*1 piece of Kraft cardstock
*scraps of 6 patterned papers
*heart paper punch (mine is from Hobby Lobby)
--I have no idea why this picture flipped on it's side. It was the right way when I uploaded it.--

Trim your Kraft cardstock to 5x7. Punch a heart out of each of your 6 papers.
Arrange the hearts as desired and adhere.

Place your cute new decor in the frame...

...and display! This is the table in our entry hall. My husband made the awesome table! I bought the cloth in Colmar, France, the birthplace of my great grandfather (we went in 2007). The small heart dish is from Austin, and has bluebonnets on it - our state flower.

A close up of the shelf. I think the hearts look cute. And they aren't too holiday-specific. I might just leave them out all the time! (Our 1st family portrait was taken in November.)

I had intended to add some letter stickers to the craft, but only had room for 6 hearts. I think if I had found an 8x10 frame, I might have still used 6 hearts, but left a little room between the two rows for a single word, like "love." Maybe next time.

Julie